
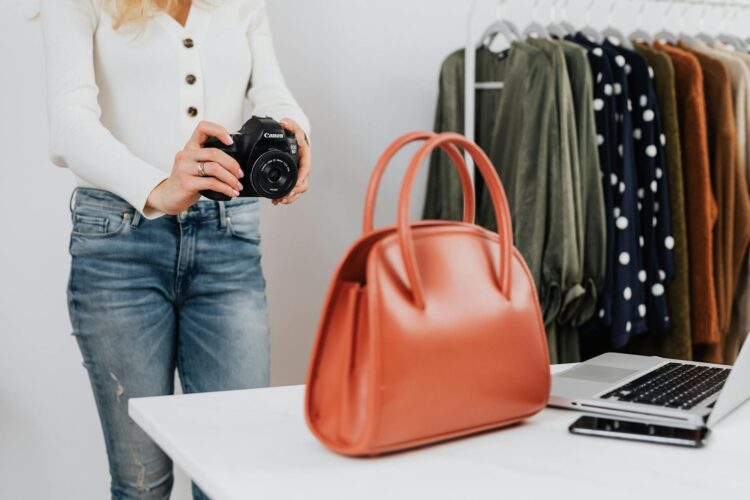
 When we’re sourcing photos for a new website, we often hear clients say “I have a good camera”. However, a good camera requires knowledge and skills to get the best results, and can still produce poor quality photos in the wrong hands! While we always recommend a professional local photographer (ask us for a recommendation), If you’re going to have a go yourself, here are some things you can try!
When you’re selling online, your product photos are doing all the talking. Clear, well-lit images can build trust, reduce hesitation, and help customers feel confident about what they’re buying. You don’t need a fancy camera or a professional studio to get it right – just some simple techniques and consistency. Whether you’re shooting with a smartphone or a DSLR, good product photography starts with a bit of planning and an eye for detail.
Use the Right Lighting
Good lighting is one of the most important parts of product photography. It brings out the colour, texture, and detail of your product, and helps your images look sharp and professional.
Natural Light vs Artificial Light
If you’re just starting out, natural light is often the easiest and most affordable option. Set up near a window during the day to get soft, even lighting. Overcast days are ideal – the clouds act like a natural diffuser.
Artificial lighting gives you more control and consistency, especially when shooting indoors or after dark. A basic setup might include:
- LED panels or continuous lighting
- A softbox to diffuse harsh light
- Adjustable stands to angle the light as needed
Both options can work well – the key is to choose one and use it consistently across your photos.
Avoid Harsh Shadows and Reflections
Strong light from a single direction can create deep shadows or bright hotspots. To reduce this:
- Use a diffuser (e.g. softbox, sheer curtain, or baking paper)
- Bounce light back onto the product with a white foam board or card
- Angle your lights to minimise glare on glossy or reflective surfaces
- Avoid placing the product in direct sunlight
These simple tricks help create a more balanced and professional look.
Keep the Background Simple
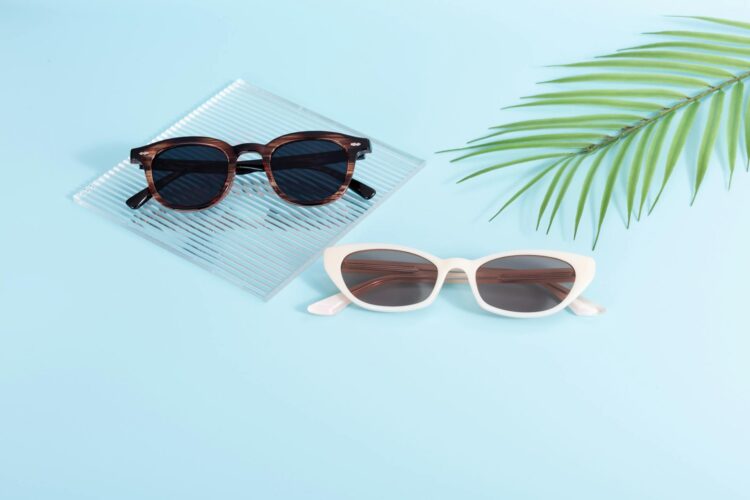 A clean background keeps the focus on your product and gives your photos a professional look. It also helps create consistency across your product range, which builds trust with customers.
Use a Plain or Neutral Background
A white or light grey background works well for most products. It makes colours stand out and removes distractions. You can use:
- A roll of white paper or a sweep backdrop
- Foam board or poster board from a stationery shop
- A light-coloured table or benchtop with minimal texture
Avoid busy patterns or textured surfaces unless they’re part of your brand style.
When to Use Lifestyle Settings
While plain backgrounds are ideal for product listings, lifestyle shots can be useful too – especially for social media or highlighting product use. Use them when you want to:
- Show the product in context (e.g. furniture in a room, clothing being worn)
- Give a sense of scale or usage
- Reinforce your brand aesthetic
Just make sure the setting doesn’t overpower the product. Keep props minimal and lighting consistent with your main photos.
Stabilise Your Camera
 Even the best lighting won’t help if your photo is blurry. A steady camera setup keeps your images sharp and consistent, especially when shooting multiple angles or small details.
Use a Tripod for Consistency
A tripod eliminates camera shake and helps you maintain the same framing from one shot to the next. This is especially useful when:
- Photographing multiple products in the same layout
- Shooting close-ups where even slight movement can blur the image
- Editing or cropping batches of photos to the same size
You don’t need anything fancy – a basic tripod with adjustable height and a phone mount will do the job.
Smartphone Tripods and DIY Setups
If you’re using a smartphone, there are plenty of low-cost tripod options available. You can also create makeshift stands using:
- Stacks of books or boxes
- A clamp or phone holder fixed to a stable surface
- A selfie stick attached to a weighted base
The key is to keep your camera still – whether it’s a DSLR or a phone – so your photos come out clean and crisp.
Capture Multiple Angles and Details
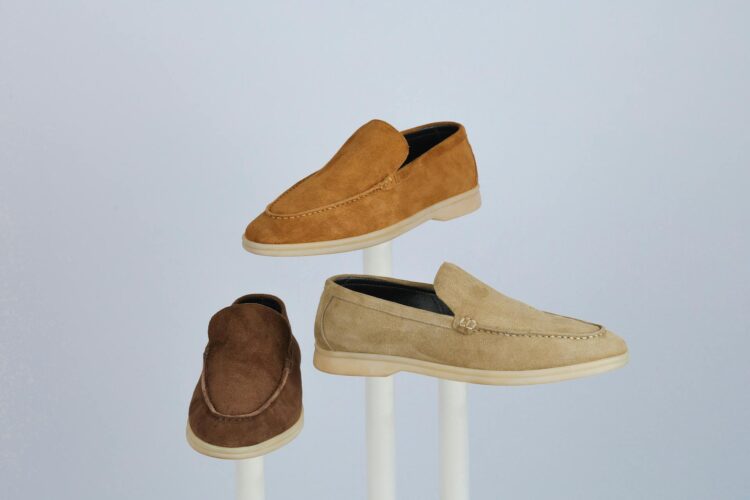 Online shoppers can’t pick up your product – so your photos need to do the heavy lifting. Showing different angles and close-ups helps build trust and gives customers a better understanding of what they’re buying.
Show the Product from Every Side
Include a variety of standard angles to help customers visualise the product in full. Aim for:
- Front, back, and side views
- Top-down or bottom-up angles if relevant
- Angles that highlight the shape or function of the item
Use the same background and lighting setup to keep your images looking consistent.
Include Close-Ups of Key Features
Zoom in on the details that matter – especially those that affect buying decisions. This might include:
- Materials and texture (e.g. stitching, wood grain, or finish)
- Labels, branding, or logos
- Functional parts (e.g. zippers, buttons, clasps, lids)
Close-ups give customers confidence in the quality and accuracy of what they see, reducing the chance of returns or misunderstandings.
Focus and Clarity Matter
A blurry or out-of-focus photo can make even the best product look unprofessional. Sharp, clear images give your site a polished feel and help customers see what they’re getting.
Use Tap-to-Focus on Smartphones
Most smartphones allow you to tap the screen to focus on a specific part of the product. To get the best results:
- Tap on the area you want to highlight (e.g. logo, front edge, or texture)
- Hold still for a second before taking the shot
- Lock focus if your phone supports it, so it doesn’t shift when you reframe
This small step can make a big difference in sharpness.
Watch Out for Motion Blur
Even a slight movement can cause motion blur, especially in low light. To avoid this:
- Use a tripod or steady surface
- Set a short timer (2–3 seconds) to eliminate shake from pressing the shutter
- Avoid moving the product while the photo is being taken
Sharp focus not only looks better – it also helps the customer trust the product is well-made and accurately represented.
Edit for Polish, Not Perfection

Adjust the basics when editing.
Editing your product photos helps them look clean and consistent – but over-editing can do more harm than good. The goal is to enhance the image without misleading your customer.
Adjust Basic Settings
Once you’ve taken your shots, use simple editing tools to improve clarity and colour. Focus on:
- Brightness and contrast
- White balance (so whites look white, not yellow or blue)
- Cropping and straightening
- Minor exposure or sharpness adjustments
Free tools like Snapseed, Lightroom Mobile, or your phone’s built-in editor are often enough for this.
Don’t Overdo Filters or Retouching
Avoid making the product look dramatically different from what the customer will receive. Steer clear of:
- Colour filters that change the tone of the item
- Smoothing tools that hide texture or material detail
- Edits that remove natural shadows or shine (especially for glossy or metallic items)
Accurate photos lead to fewer returns, better reviews, and more trust in your brand.
Keep Your Image Files Web-Friendly
High-quality images are important, but they also need to load quickly. Large, unoptimised files can slow your website down and frustrate users — especially on mobile.
Start with High Resolution
Take your photos at the highest resolution your camera allows. This gives you flexibility to crop, straighten, or zoom in on details without losing quality. High-res images also look sharper on modern screens.
Resize and Compress for the Web
Before uploading images to your website:
- Resize them to match the display size needed (e.g. 1000–1500px wide for product images)
- Compress the file to reduce load time without making it look pixelated
- Use JPG format for photos and PNG for images needing transparency
There are free tools like TinyPNG, Squoosh, or built-in export settings in editing apps to help with this. A well-optimised image strikes a balance between quality and speed — and keeps your site performing at its best.
Match Your Brand’s Visual Style
 Your product photos should feel like part of your overall brand — not just isolated images. Consistency in tone, colour, and composition helps create a stronger impression and builds trust.
Consistency Builds Trust
Customers are more likely to buy when your product range looks cohesive. To keep things consistent:
- Use the same background, lighting, and angles across all products
- Stick to a specific editing style (e.g. bright and clean, or warm and natural)
- Frame your photos the same way so they align neatly on your website
This kind of visual uniformity makes your business look polished and reliable.
Examples by Industry
Your photography style should suit what you’re selling:
- Skincare and beauty: clean, soft lighting with minimal props
- Handmade or rustic items: warm tones and natural textures
- Tech or electronics: bright, neutral lighting with sharp detail
- Clothing or accessories: styled flat lays or on-model shots with attention to colour and fit
The goal is to create a visual tone that fits your brand and feels deliberate — not random.
Show the Scale When Needed
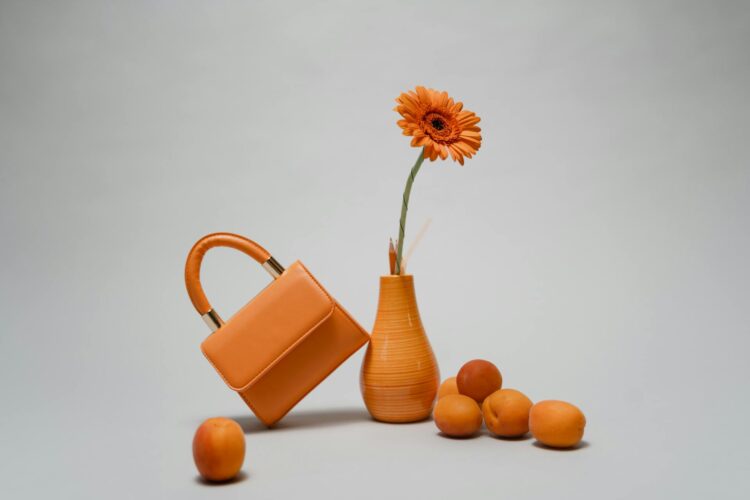 Size can be hard to judge online, especially for small or unusually shaped products. Including a sense of scale in your photos helps customers understand what they’re buying — and prevents surprises when the item arrives.
Include Objects or Hands for Reference
Simple, familiar objects can quickly communicate size. Depending on your product, you might include:
- A hand holding the item
- A coin, pen, or phone for comparison
- The product placed in a real-world setting (e.g. a mug on a desk, earrings being worn)
Make sure these additions don’t distract — they should support the photo, not dominate it.
Use Measurement Overlays if Necessary
For products where size is a key concern, consider adding subtle measurement guides to your images. For example:
- Arrows with width/height dimensions
- A ruler or grid under the item
- An overlay showing internal capacity (for containers or bags)
This is especially helpful for eCommerce sites with technical or handmade products, where exact sizing matters.
Be Consistent Across All Products
Consistency makes your online store look more professional and easier to browse. When all your product photos follow the same visual approach, customers can compare items easily and feel more confident about your brand.
Use the Same Setup Each Time
Create a repeatable process so every product gets photographed in the same way. This might include:
- A fixed lighting setup and background
- Standard camera angles (e.g. front, back, close-up)
- A simple checklist to follow for each shoot
If you update or add products regularly, having a consistent setup will save time and keep your catalogue looking sharp.
Keep Your Online Store Looking Professional
Mismatched photo styles — different lighting, random backgrounds, or uneven framing — can make your website feel messy or rushed. A consistent look shows attention to detail and helps build trust, especially for new visitors seeing your brand for the first time.
Ready to Improve Your Online Store?
If your product photos aren’t doing your products justice, a few simple changes can make a big difference. Better lighting, clearer images, and a consistent look all help build trust and drive more sales. And if you need help setting up an online store that showcases your products properly, we can help. At Energise Web, we design and build eCommerce websites that are easy to manage and made to convert — get in touch with us to get started.